
While we love technology here at Woodchuck Delivery, we also love going back to our primitive roots for cooking: wood fire grilled food. This simple cooking technique creates something amazing for all of your guests to enjoy. The secret is establishing your perfect grilling techniques. Here are some tips!
The Entree
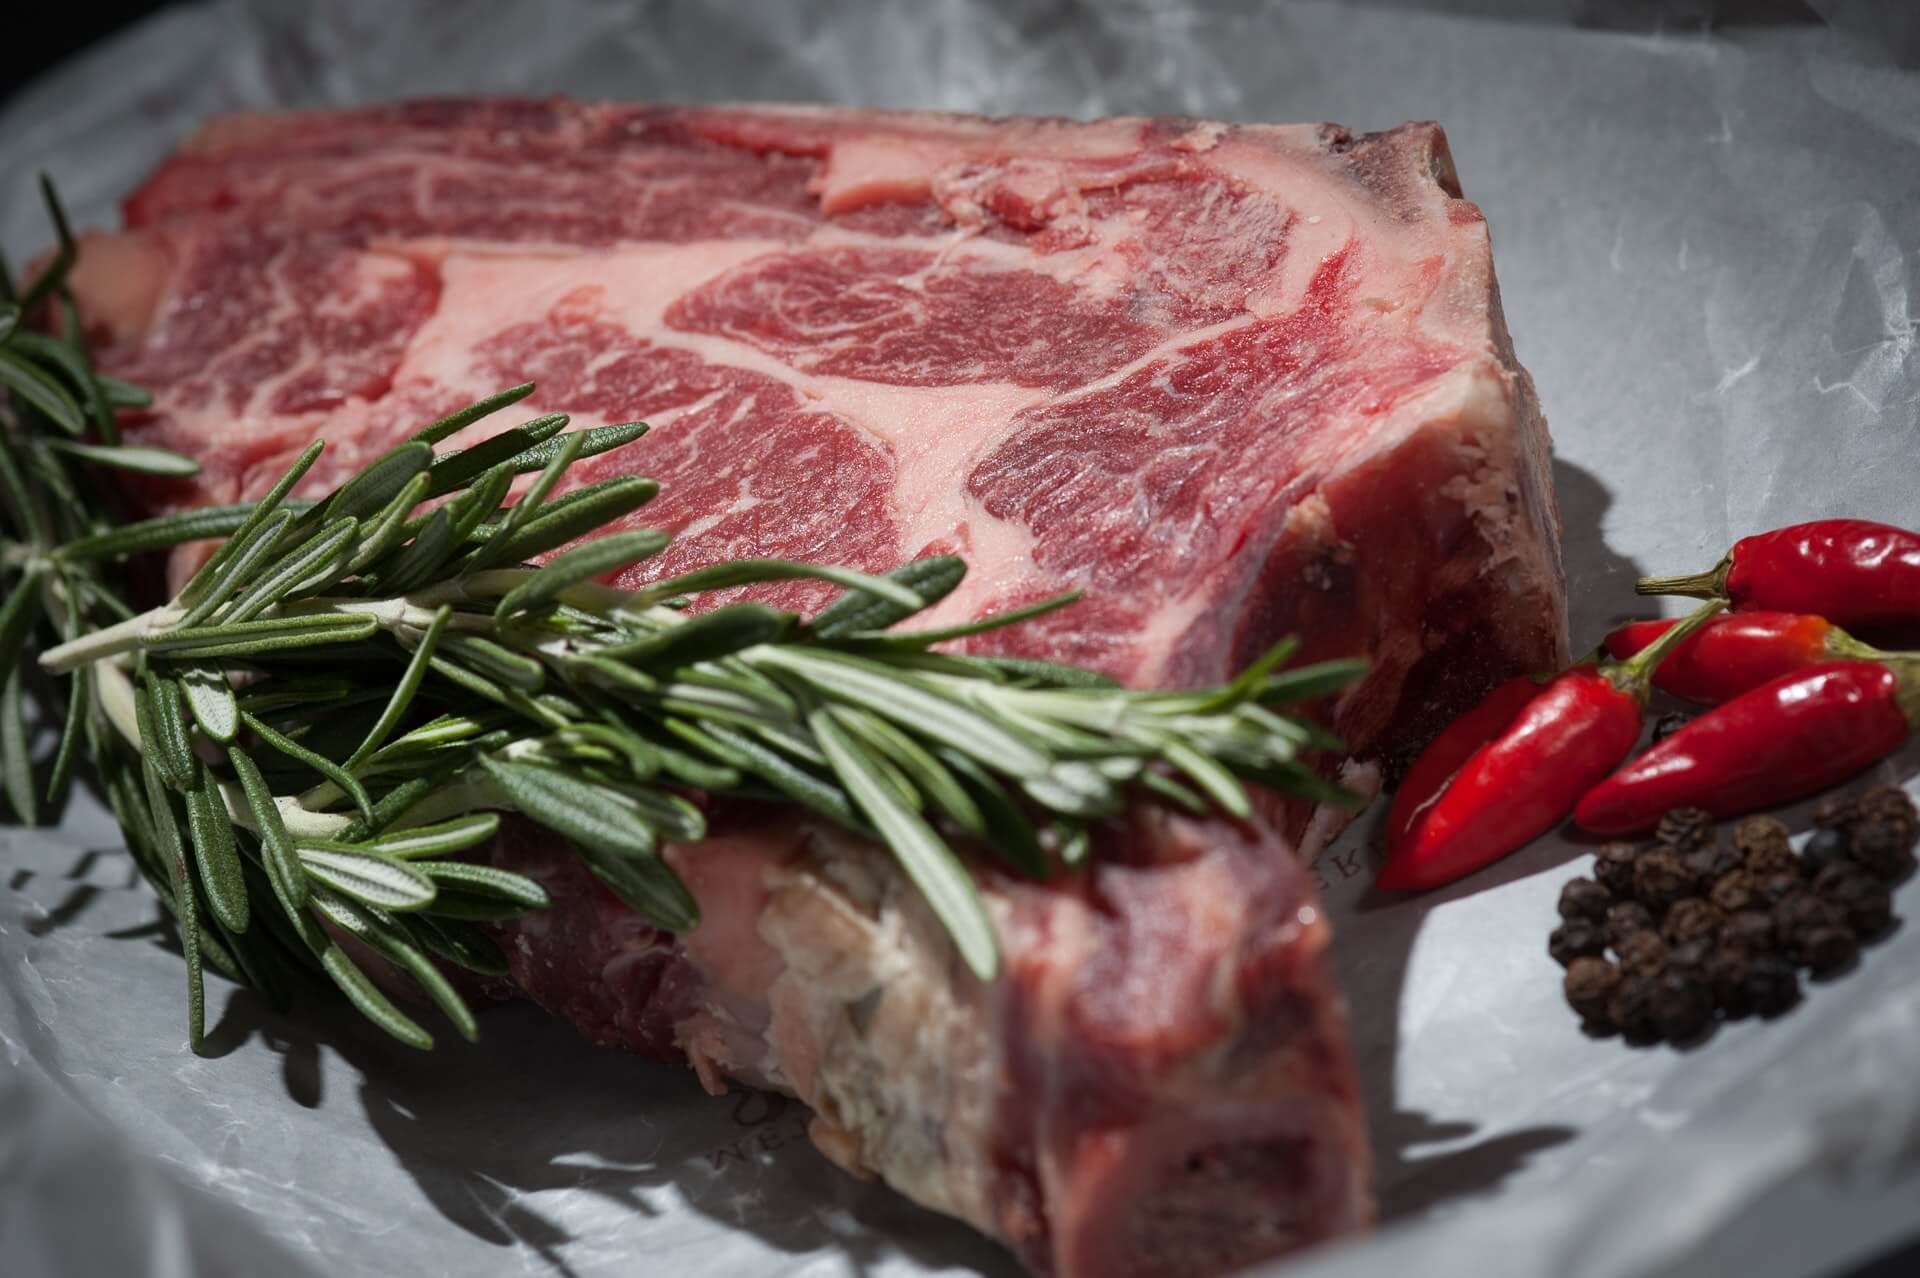
Pick the meat first! (or the veggies!) This is the most important part and not just because it is the main entree. What you are cooking will help determine what type of wood you’ll want to use. Speaking of using wood, there are certain meats that are best for wood fire grill cooking. Fatty, long cooking cuts absorb the smoke creating a flavorful, tender and juicy meal. Think marbled steaks and chops or brisket and pork butt. Oily fishes like black bass, salmon and branzino are also great choices for your wood fire grill.
The Gadgets
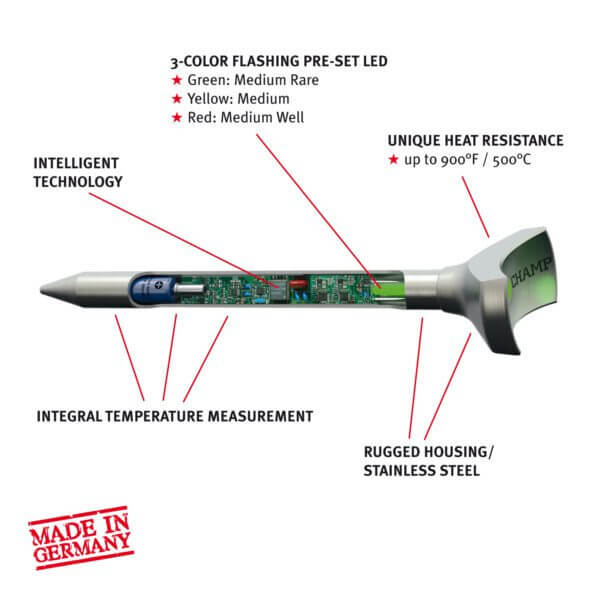
While you may be cooking an ancient way, there are a few gadgets you’re going to want to have on hand: welders glove/fire resistant leather gloves for adding more wood if needed, a fireplace poker or grill hoe for shuffling around the embers, long handled tongs for turning the meats and veggies, a meat thermometer to insure your delicious bounty is cooked just right and last, but not least, a lidded metal ash can and scoop for clean up. If you are planning to cook beef, you may want to check out the steakchamp thermometer. It really brings grilling steaks into the 21st century! If you are not cooking beef, you can use any other meat thermometer to insure that the meat is cooked properly and safe for eating. Follow these Safe Cooking Guidelines from Fight BAC.
Safe Minimum Internal Temperatures
Beef, pork, veal and lamb should be cooked until thermometer reads 145 degrees Fahrenheit, after a three minute rest.
Ground meats should be cooked until thermometer reads 160 degrees Fahrenheit.
Poultry (whole, parts, or ground) should be cooked until thermometer reads 165 degrees Fahrenheit.
Finfish should be cooked until thermometer reads 145 degrees Fahrenheit.
If you are cooking seafood, make sure to look for the following clues that it is fully cooked since you do not use a meat thermometer on seafood.
Shrimp, lobster and crab should be cooked until the flesh is pearly and opaque.
Clams, oysters and mussels should be cooked until shell opens.
Last, but not least, scallops should be cooked until they are milk white, opaque and firm.
Following these guidelines will insure that your meal is, not only delicious, but safe for eating as well!
The Firewood
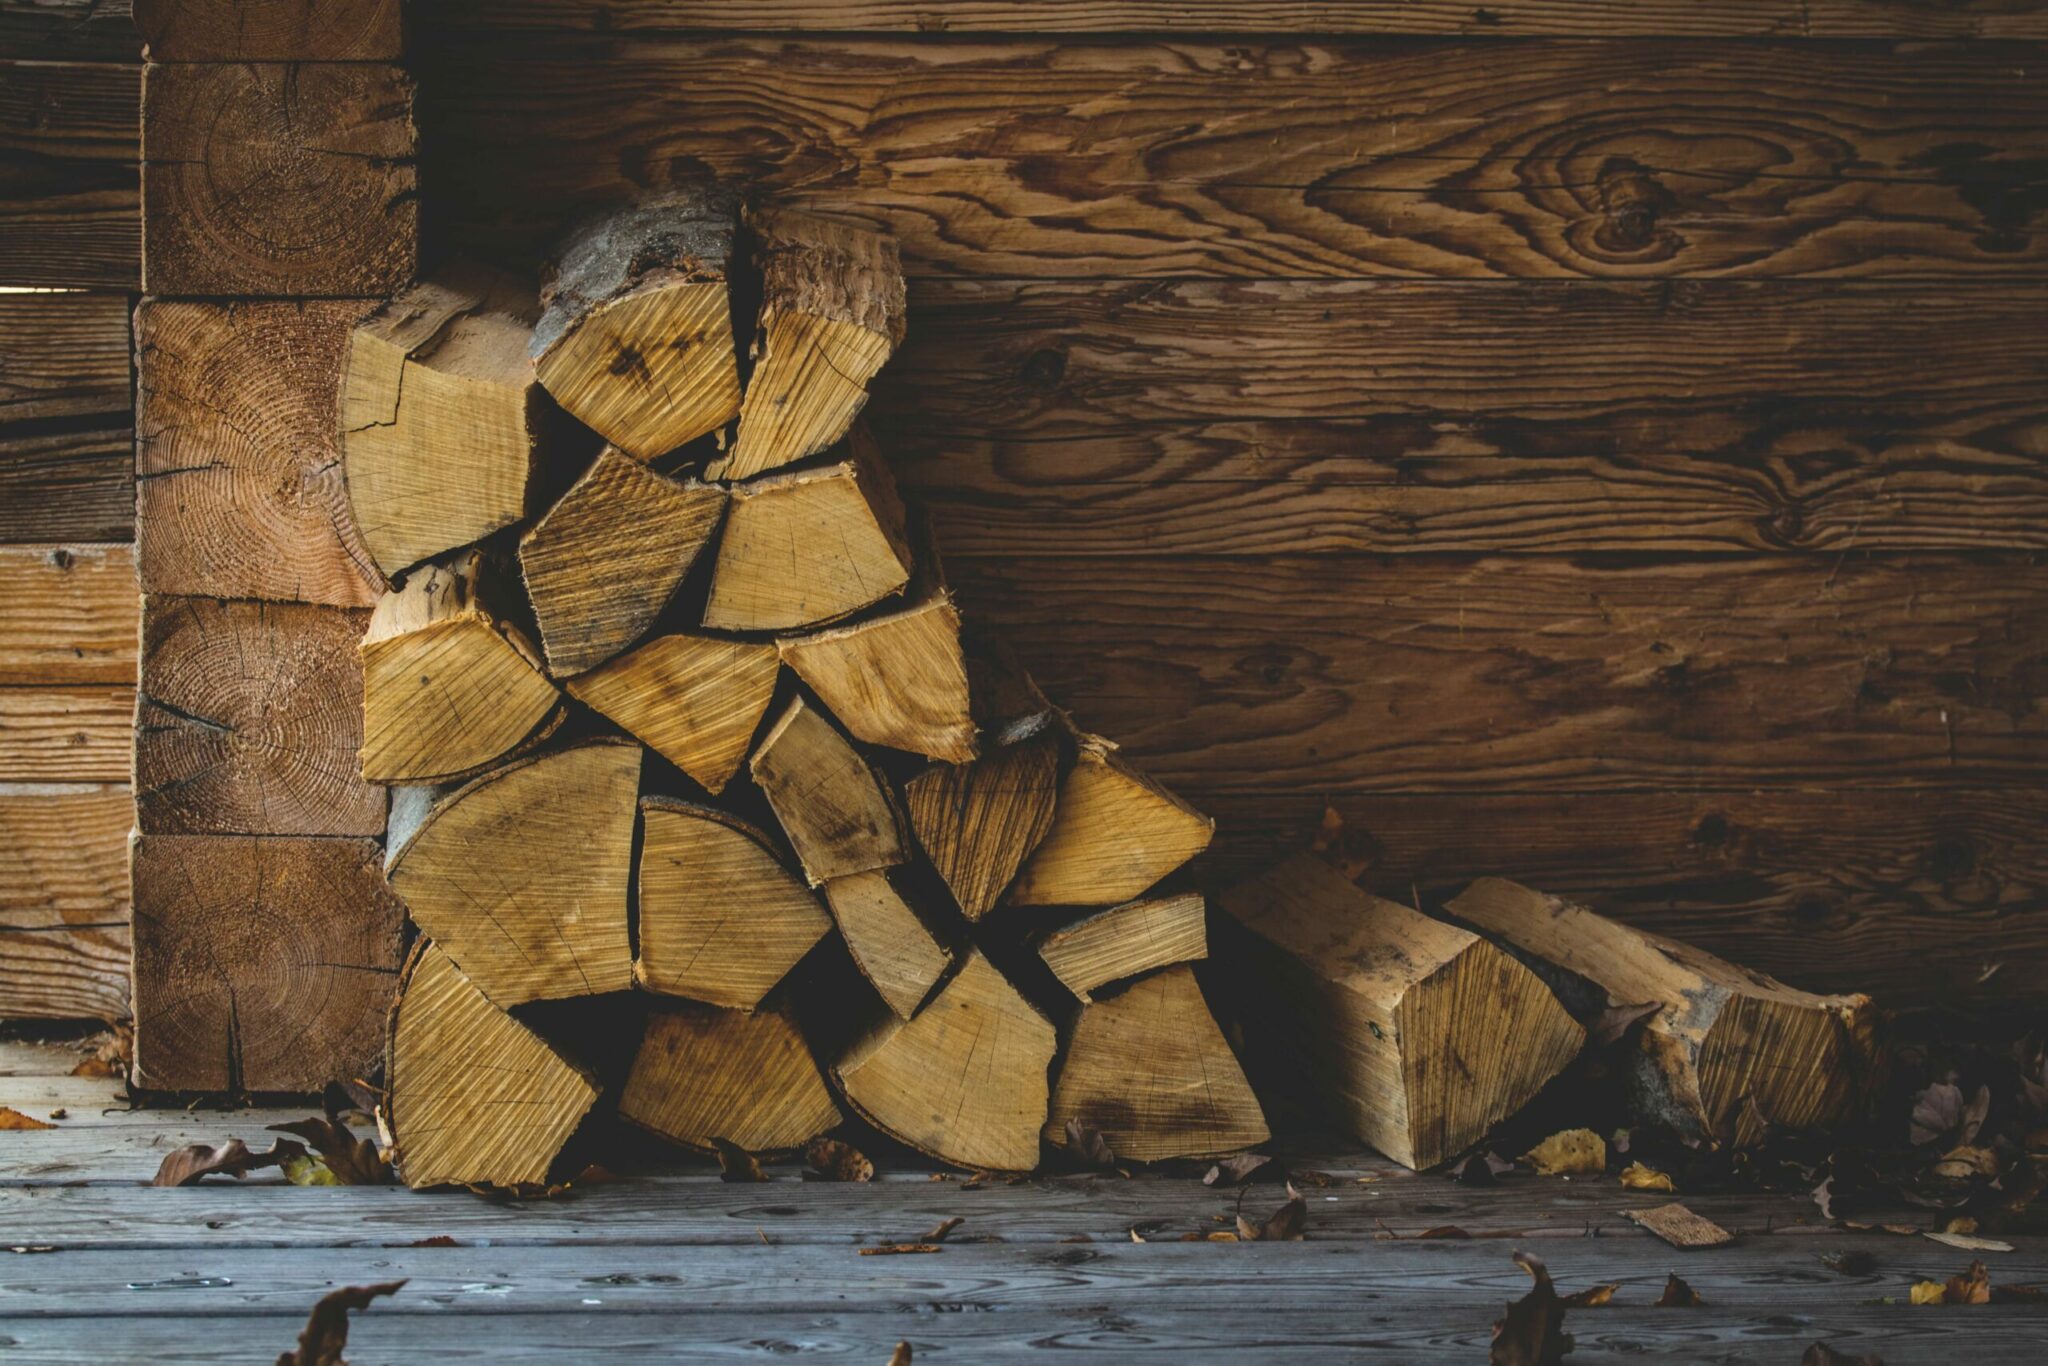
Choose which type of firewood is best for you. You can narrow this down by asking a couple of questions. Do you prefer mild or strong smoke flavors? What type of meat will you be cooking? Check out our blog on the types of firewood we offer to help you narrow down the right pick.
The Flavor
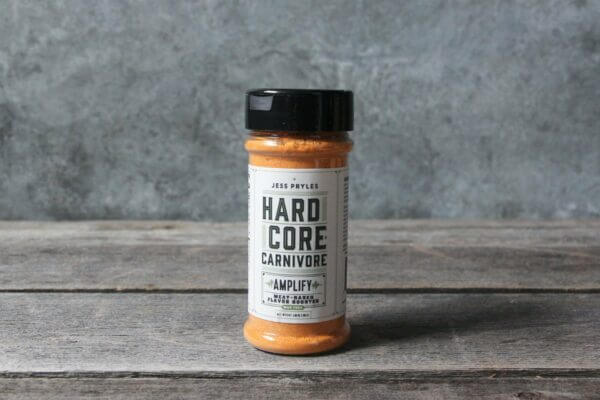
Time to add more flavor! Whether you love dry rubs, soaking your meat in delicious sauces, or glazing while you grill, you are sure to find the perfect one for your meal. If dry rubs are your flavor of choice, you might try Hardcore Carnivore by Jess Pryles! These rubs will pack your meat with flavor. Jess has three different rubs: Black, Red and Amplify. The Black is a steak and meat seasoning that boosts flavor, creates a foundation for the grilled crust to form, and gives a vivid black color which contrasts with the meat. The Red is perfect for all cuts of pork! It has the same delicious flavor as the Black but with an all natural red hue. Since it is not very sweet, you can customize your sweetness by adding honey or brown sugar. Finally, there is Amplify. It is gluten-free and perfect for any meat, fries, eggs, etc… It will add a fun punch of flavor to whatever you are cooking. You can always glaze the dish with your favorite sauce while cooking to add another layer for your taste buds to enjoy.
As with any type of grilling, you want to make sure the grill grate is cleaned before you get started. Once the grill grate is clean, dip some paper towels in vegetable oil and smear it over the grate. This will help prevent the meat from sticking to the grate.
The Grilling
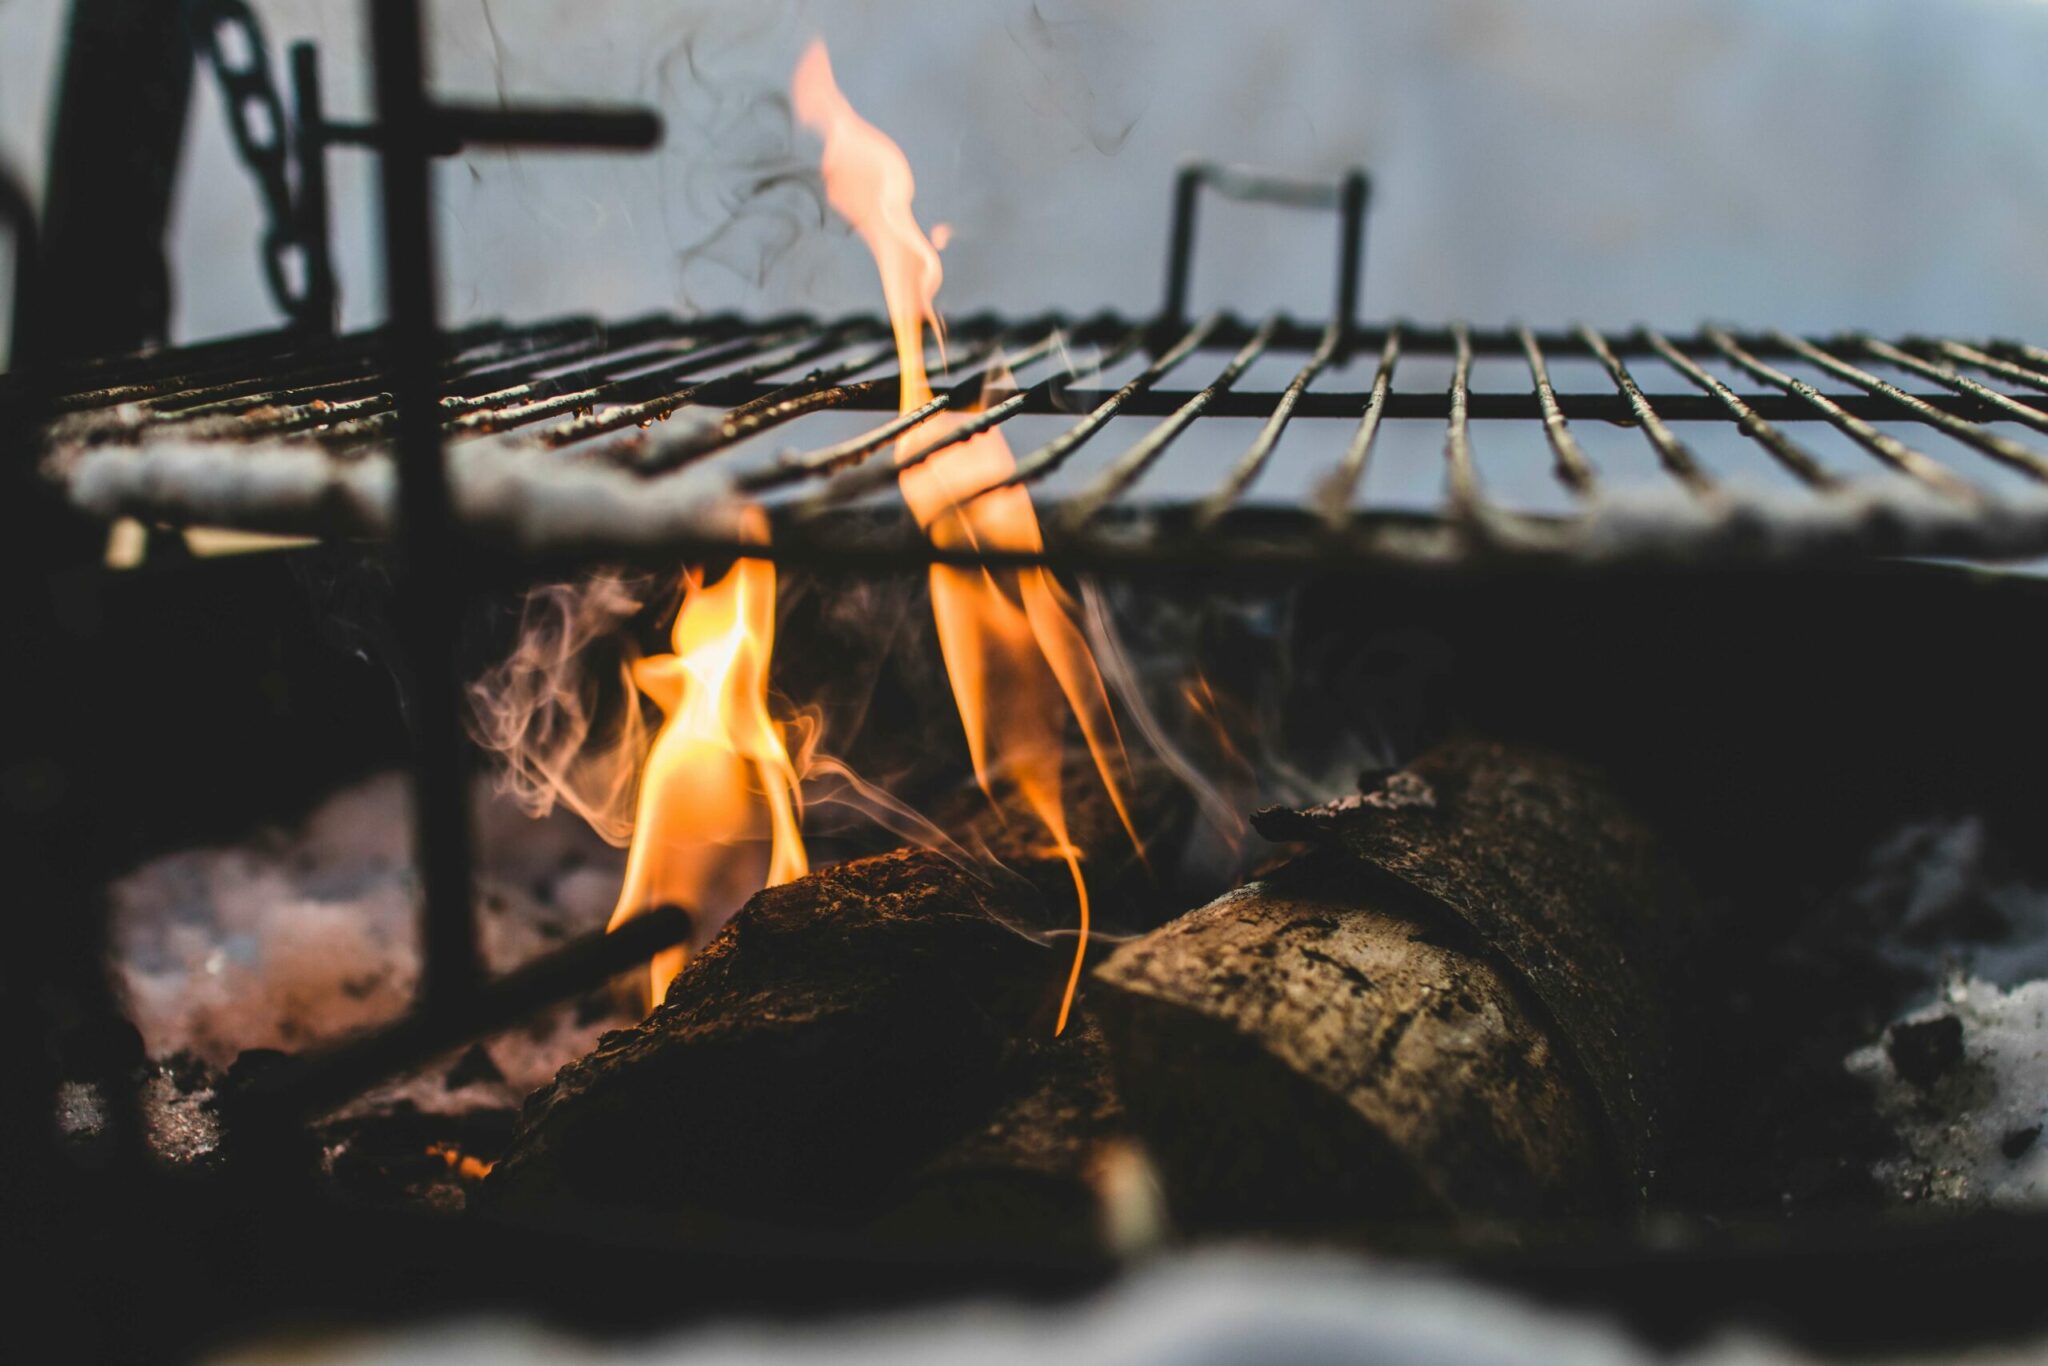
Now is the fun part for the pyromaniacs out there. Starting the fire. There are many ways to start a fire for a wood fire grill. You can use newspaper and sticks, a few charcoals, or both to get a good kindling going. Once that happens, you can add a few logs and let them burn to embers. This should take around 45 minutes. Once the wood is reduced to embers, use a grill hoe or a fireplace poker to spread them around and even out the heat. Keep in mind that wood burns faster than charcoal, so you’re going to want to replenish every 20 to 30 minutes. Also, a deeper pile of wood will create a higher heat, if that is what you are wanting. While some people like cooking with an open flame, others have found that it is easier to get an even cook with embers and you will have less burnt sections on the meat. Especially if you are cooking something like chicken breasts with the skin. The open flame will burn the skin before the meat is even cooked. While some char is great, you don’t want too much of it.
Another option, which the jury is still out on, is adding soaked wood chips to your embers for another depth of flavor. They can be soaked in water, wine, whiskey, or lemon juice. Some pitmasters say myth but others swear by this technique. We say, try both ways and see which one you like the best!
After the embers are just right, it’s time to get grilling. Add your meats and veggies to your nicely oiled grilled grate. Flipping your meat frequently to get the good kind of char, a flavorful crust rather. Be sure to use a thermometer to make sure your meats are cooked perfectly. Once they have reached the correct temperature, Use the tongs to take the meat off of the grill. Using a fork means you will lose those juices you worked so hard to create. Let the meat rest a few minutes then dig in!
Now is the perfect opportunity for you to rediscover this method of grilling. Wood fire grilling is unique to each person, universal and timeless. I cannot think of a better way to spend a Saturday than using these tips to master grilling with firewood. It may take a little longer but like most things that take time, it’s usually worth the wait.
Next time you are grilling, give this Jess Pryles recipe a try!
Grilled Mexican Street Corn with Amplify by Jess Pryles
Ingredients:
Method: